 Cmtv News News -Education – Entertainment – Sports
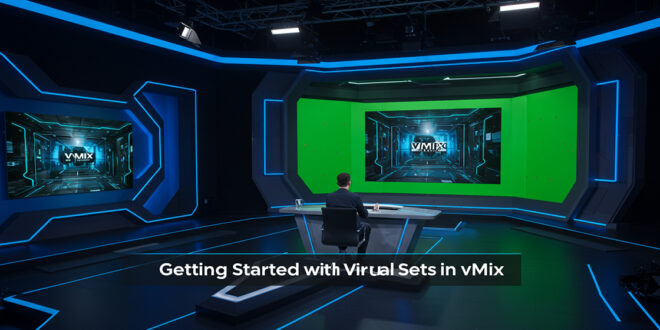

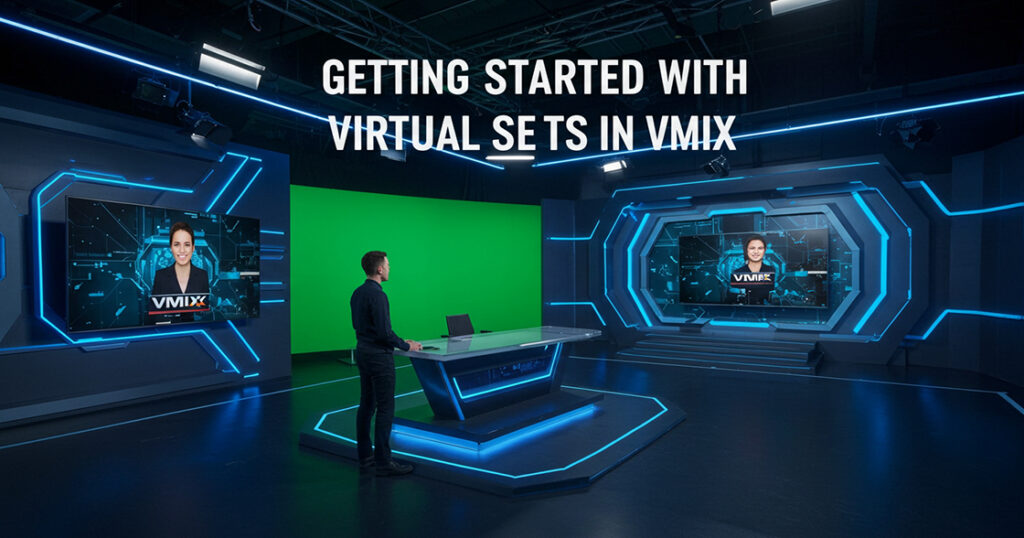
What Are Virtual Sets?
Virtual sets allow you to insert yourself into a digital studio using just a green screen. You’ve likely seen them in use during news broadcasts, talk shows, and weather reports on TV or in films. All you need is a green screen to seamlessly integrate yourself into different visual layers.
vMix includes several pre-built virtual sets, but for high-end or custom designs, we recommend exploring software vendors featured on our website, such as Virtual Set Works or Virtual Studio Sets—the same ones used on network television.
Step-by-Step: Setting Up Your Virtual Set
1. Remove the Green Screen
Start by setting up your camera:
Head to your Camera Settings
Open the Color Key section
Use the eyedropper tool to select your green screen
Choose Preset 2 under Chroma Key settings for optimal results
Check Anti-aliasing for smoother edges
Now your background is clean and ready for a virtual environment!
2. Add a Virtual Set in vMix
 To load a set:
Go to Add Input > Virtual Set
Choose from the built-in options (e.g., top-right set) and click OK
You’ll now see the virtual set in your production, ready for customization.
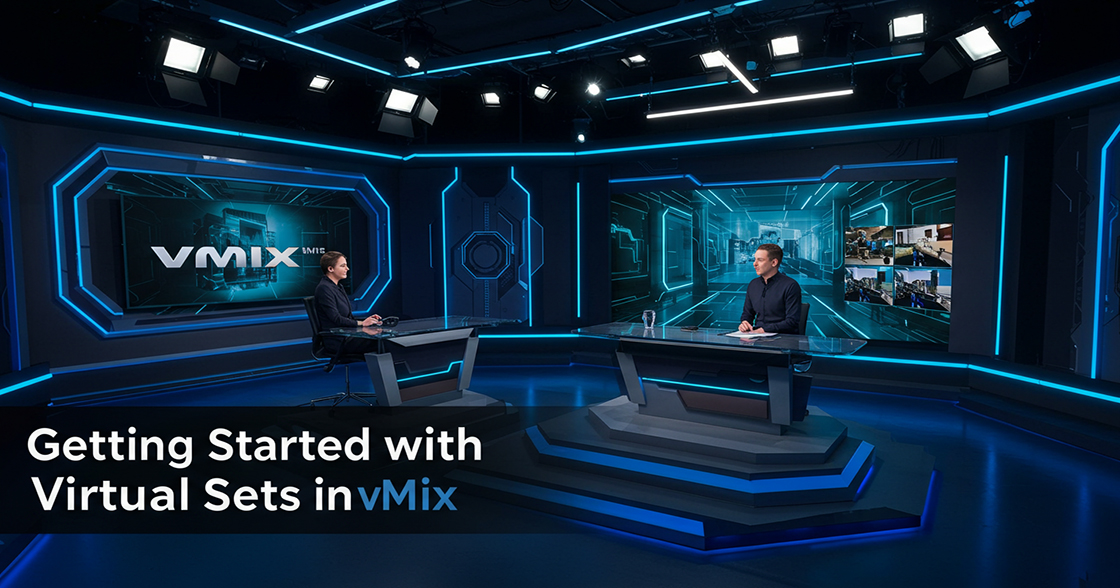
3. Navigating Layers and Camera Angles
Each virtual set supports multiple layers and camera angles:
Use Zoom Options like Fast, Medium, Slow, or Cut
Different angles (1, 2, 3, 4) allow dynamic camera perspectives
Switch angles smoothly or cut between them instantly using shortcuts
To customize:
Click on Setup beside the input
Choose from up to 10 editable layers
For example, assign your camera feed to Talent A to place yourself behind the virtual desk
Need resizing? Hold Shift to zoom or move yourself with Multiview Settings to reposition for a realistic scale.
4. Customizing Virtual Set Elements
You can personalize almost every part of your virtual set:
Replace screen content (e.g., add a paused video, a logo, or a music video)
Modify the backdrop (swap the city for a beach, a mountain, or a cliff)
Zoom and pan camera angles for close-ups or wide shots
Use right-click on angle icons to fine-tune zoom, position, and transitions
5. Creating Double Box Effects
Double or multiple box layouts are great for interviews or dual presentations: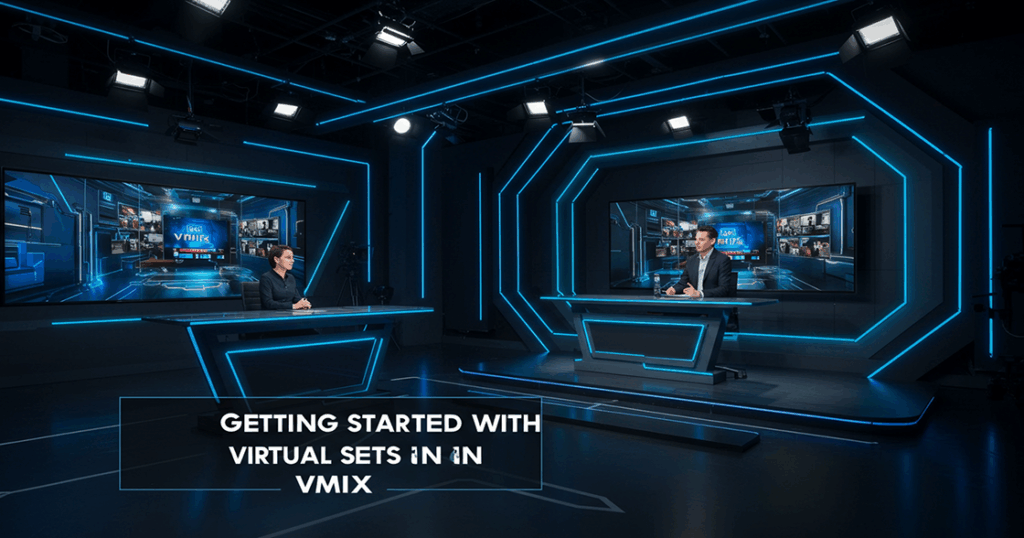
Select a Double Box Set
Assign inputs to Box 1 and Box 2 (e.g., New York video, webcam feed)
Customize the background just like other sets
Zoom between the boxes using the same virtual camera functionality
This makes your production look TV-broadcast ready with minimal effort.
6. Building Your Own Virtual Set
If you want full creative control:
Choose Blank Virtual Set (4 or 10 layers)
Assign different inputs to layers (backgrounds, videos, logos, you)
Move and crop each element within Multiview Settings
Adjust zoom levels or reposition content on multiple axes
You can also toggle layer visibility, reset positioning, and export your virtual set for future use.
To import a saved set:
Go to Add Input > Virtual Set > Browse
Select the folder where your custom set was saved
7. Using 360° Virtual Sets
vMix also supports 360-degree virtual sets:
Select 360 Video under Virtual Sets
Assign 360-degree camera input
Set content for front, back, left, right perspectives
Want more details on 360 sets? We’ve got a dedicated video tutorial that walks you through this feature in-depth—definitely worth checking out!
Final Thoughts
 And that’s how easy and versatile virtual sets are in vMix! Whether you’re hosting a live show, delivering news, or creating custom content, virtual sets can take your production quality to the next level.
💬 Have questions?
Reach out to us via the vMix support page for help or inquiries.
🛒 Looking for more virtual sets?
Visit our site for a full list of recommended vendors.
Thanks for tuning in—and happy virtual broadcasting!